Maybe you read the title of this post, and you don't think that the words "simple" and "pie" should be in the same sentence.
Made-from-scratch pie crust. Just the thought used to cause me to grimace. Yet lately, my view on homemade pie crust is changing.
First, it was with this easy, grain free "graham cracker" crust.
Then I read Gluten Free Girl's step-by-step description of the process...real, flaky pie crust: flour, cold butter, water, salt. That's it.
Really, that's it? No sweating? No panicking about keeping everything ice cold? And I kept learning:

And they aren't all that hard, either.
On a recent weekend, I determined to conquer the intimidating baking task known as the pie crust...and I was very pleased with the results. I will definitely be making pie crust again :)
The tips and recipe for this pie crust has been adapted from Shauna at Gluten Free Girl. The way she describes the process makes it seem "doable" and easy to understand. I love the way she writes, so I'll let her be the eloquent one this time :)
Here's my current flour mix (although I'm sure to tweak it eventually, but I wanted to go ahead and share this first attempt with you):
105 g. sorghum flour
105 g. teff flour
70 g. white rice flour
35 g. potato flour
35 g. tapioca starch
I have lots of pictures in this one, but I felt like that was the easiest way to teach you about pie crust :) And even though it's lengthy, I know it will inspire you. So without further ado, here's simply...pie.
GF Pie Crust (from Gluten Free Girl...with occasional comments from myself!)
"I can’t tell you how many times I have heard, in the past few months, “Oh, I’m afraid of pie dough.” Why? What’s the worst that could happen? You make a mediocre pie?
However, I think I can take a guess.
So many recipes for gluten pie dough call for everything to be cold, for you to work quickly, for you to do everything you can to not overwork the dough. Reading them makes me anxious. It’s like we are dismantling a bomb with thick fingers instead of making dessert. Yes, when you work with cold butter and cold flour and cold board for rolling, you get more flakiness in the pie.
But you know what? I just want pie. If it’s flaky? Great. But tender is even better. Best yet? On the table.
And you know the best part about making gluten-free pie? There’s no gluten in there. The crust can’t get tough. You can tuck the errant piece of dough that clung to the parchment paper right alongside its brethren in the pie pan. It’s still going to be pie" (excerpted from this post).
350 g. all-purpose GF flour mix (see above for my current blend)
½ teaspoon kosher salt
230 grams (2 US sticks) unsalted butter
½ cup ice-cold water, plus a few splashes more
Preparing to make the dough. Cut the butter into one-inch cubes. Put them in the freezer for 15 minutes.
Making the dough. Put the flour and salt into a large food processor. Pulse them together until the flour is fluffy and aerated.


Rolling out the pie. Take the pie dough disks out of the refrigerator and let them sit out for 15 minutes or so, or until it has come to a chilly room temperature. Preheat the oven to 425°.
You have your choice here: a floured countertop, a floured marble pastry board, or two pieces of parchment paper (Or wax paper!). Once you have made pie a few times, you’ll know which one works best for you.
(If you’re brand-new to this, try the parchment paper trick first.)
Gluten-free dough can be a bit stickier than gluten dough. This is just a fact. So, be sure to use plenty of gluten-free flour to flour the board. When I use two pieces of parchment paper, I lightly oil them, to try to prevent sticking. (And I mean lightly.)
So, using the method of your choice, roll out the dough. Pat down the disk and put the rolling pin on it. Now, imagine that the dough is the face of a clock. Roll out once at 12 o’clock. Then, lift the pin and roll at 12:10. Moving in “ten-minute” increments, roll out the pie dough to slightly larger than your pie pan. Be patient. Think of this as meditation. Roll out the dough evenly.


Now, if you have worked with the parchment paper, lift the top paper, put the pie pan on top of the dough, and flip it over. Carefully, strip away the parchment paper. Go slowly. Voila! Pat the dough down into the pan.


(OK, Heather here....Let me be real: this is what my pie crusts looked like the first time I did this! So do not despair....it can be fixed....Have fun with it!)


Crimping the edges. Crimp the edges of the pie pan by working with floured fingers. I press from the inside of the pie pan with my thumb and first finger on the left hand, then press between those with the first finger of my right hand from the outside. (That’s a lot of words. Try to visualize it. This will make sense.) This is one of my favorite activities in the world. Go slowly and enjoy it.


Fill the pie with the filling. Pat it down.
(Now, here, I chose to make 2 separate pie crusts, and then make my fruit pie fill one of them, as you'll see here. This is the unbaked pie. This one happened to have been frozen for a couple weeks, and I just pulled it straight from the freezer, mixed my filling, and baked. Do whatever suits your fancy. If you're not making a top crust, just ignore the directions related to that).

Roll out the remaining dough the same way. Lay it onto the pie gently, like you’re putting a blanket on a sleeping child. And if the dough sticks and breaks, just pat the pieces together. Tuck the edges into the crust.
Baking the pie. Cut a few slits into the top crust. Brush the top crust with the beaten egg. Slide the pie pan into the oven. Bake for 15 minutes, then turn the temperature down to 375° (At this point, I cover the pie loosely with aluminum foil, so the crust doesn't burn). Bake until the juices are bubbling out of the pie, the crust is browned, and you hear a sizzle-whump when you put your ear to the baked pie, about 45 to 55 minutes. (That last part will tell you that the juices are boiling in the pie and are thoroughly cooked.)
And, you have pie.
But wait.
You HAVE to let it cool for at least 2 hours before you cut it. I know. Hard. But you want happy pie, not sad pie. Wait.
Now eat.
~ * ~ * ~ * ~ * ~ * ~ * ~
I made little empanadas, or hand pies, with the scrap pieces of dough. Put a dollop of Smucker's all-fruit jam in the center of a flattened circle of dough; pinch the edges together, and bake until golden and the filling is bubbly (about 5-10 minutes). 
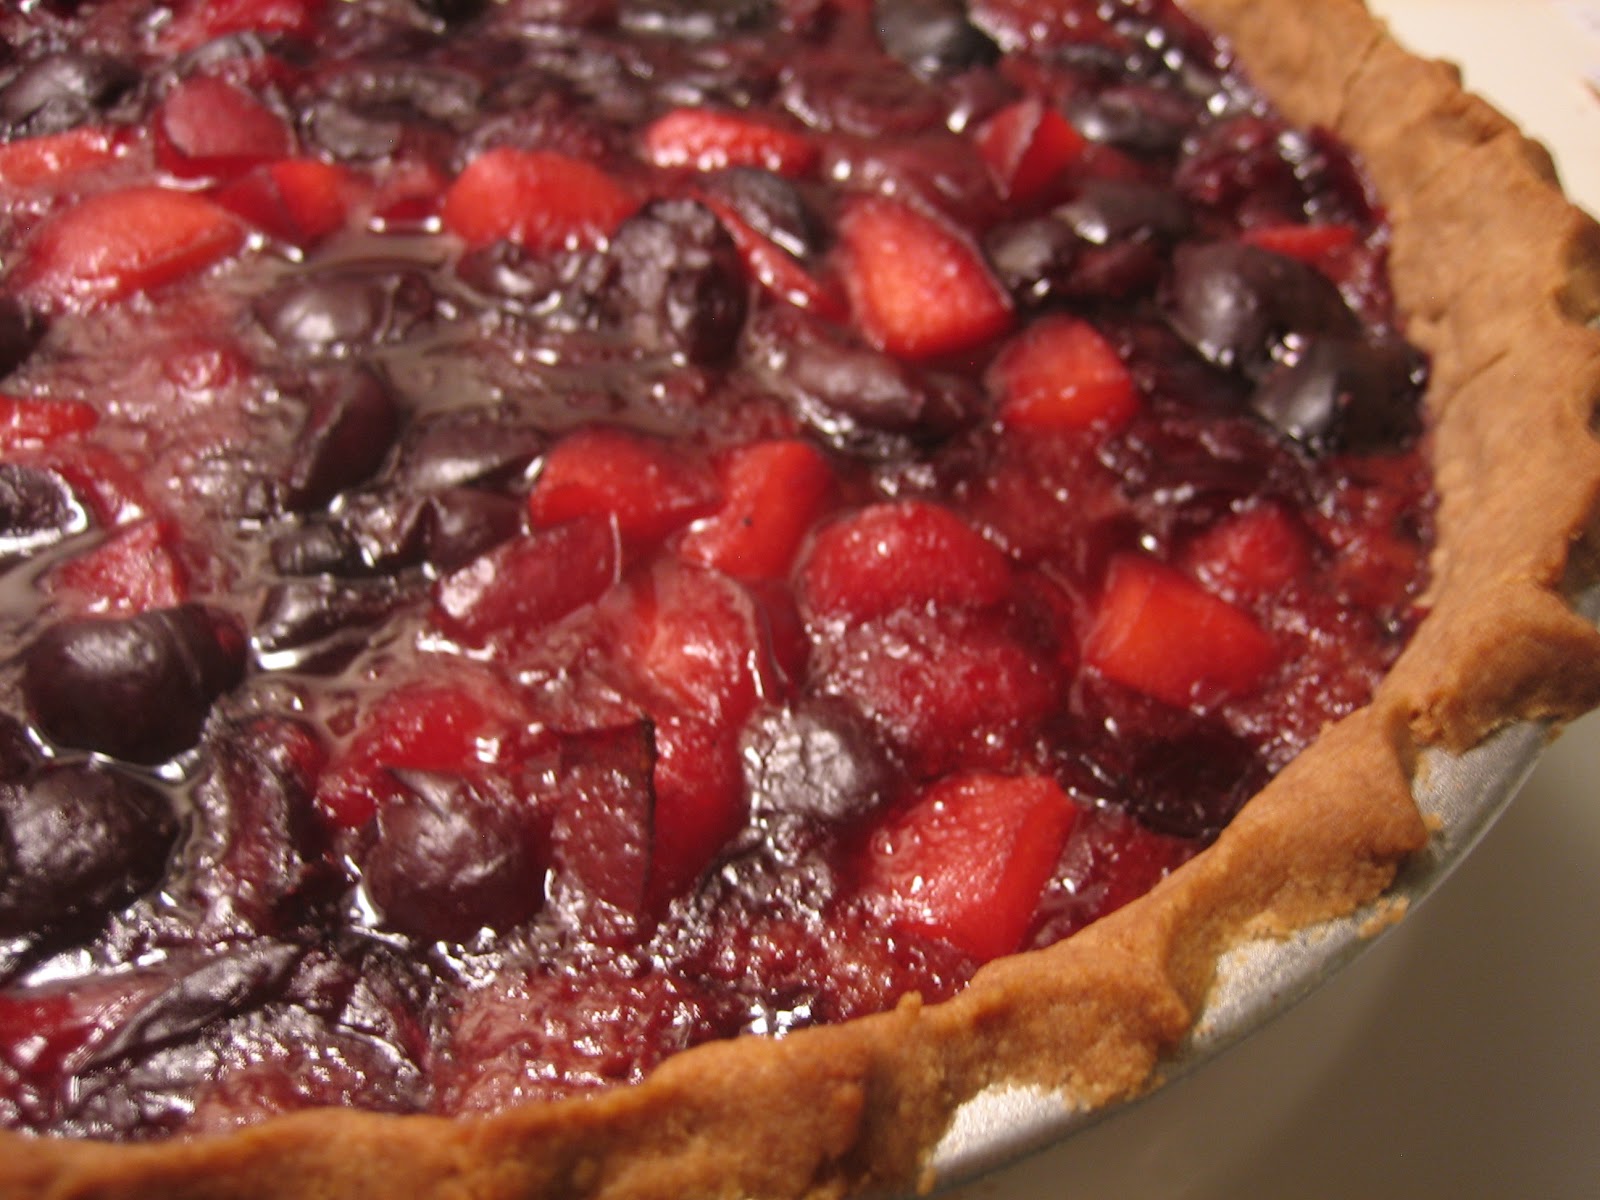
Here's the basic recipe for a refined-sugar free fruit filling as well, adapted from several different recipes I found, and I reduced the amount of sugar slightly...I used sweet dark cherries and juicy, ripe red plums, but you could use pretty much any fruit that you'd like.

3-5 c. of chopped fruit
(I used 2 lb. frozen sweet dark cherries, thawed, and halved; and 3 fresh ripe plums, chopped in 1/2- 1" pieces)
2/3 c. coconut palm sugar
3 T. tapioca flour/ starch
2 t. lemon juice
Combine all ingredients in a bowl, and allow to sit a few minutes while finishing up the pie crust (some sources say up to 30 minutes, but I don't think I let mine sit that long, and it turned out just fine). Continue with your pie-baking adventures...
Then enjoy your pie :)
No comments:
Post a Comment